The art & science of growing from seed
- Land & Garden Preserve

- Dec 4, 2023
- 5 min read
Updated: Dec 20, 2023
Brenna Sellars, Assistant Grower - McAlpin Farm

When I first started my job at the McAlpin Farm greenhouses, I did not expect that seed starting would begin in December. But I love that the growing season is never over here at McAlpin. It is always exciting to look forward to the next year, with the lists of plants to be grown for the natural lands and gardens. Each winter I take the time to research and learn about how to propagate new plants.
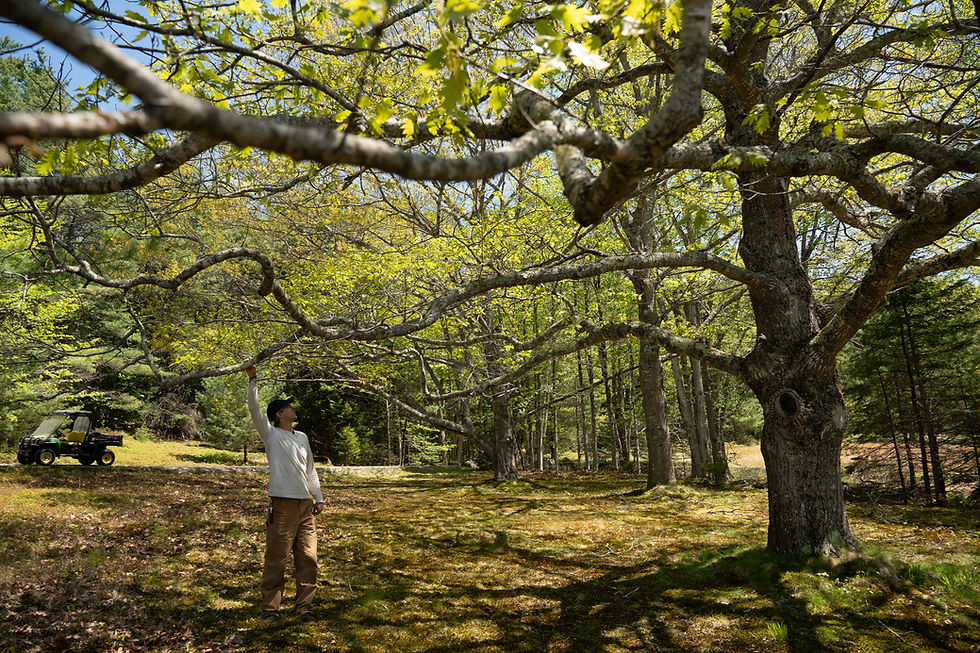
Here at the greenhouses, we start many of our plants from seed. Many of the annual blooms and perennial flowers you see at the Abby Aldrich Rockefeller Garden and Thuya Garden are started from seed, as well as most of the native plants we grow for those gardens and the Preserve’s natural lands.
Where we get our native plant seeds

While we purchase all our annual flower seed, staff members throughout the organization collect native seeds for us to propagate. These seeds are collected from the Preserve’s gardens and the lands surrounding Little Long Pond, as well as from staff members’ backyards and public lands where a patch of a particularly hardy species has been observed. We have about 110 different species of native seeds to start this winter!
We have also partnered with Acadia National Park (ANP) and are assisting their Vegetation Program by starting seeds that Acadia biologists have collected. Currently, most of the seeds we are starting for ANP are being used for their Great Meadow Restoration Project, and some of those young plants will be grown at McAlpin Farm for several years before they are mature enough to be planted and thrive in the Park. Please remember that it is illegal to collect plants or plant materials such as seeds from national parks without a permit.
Cleaning seeds

Most wild collected seed must be cleaned before it is sown. Seeds from plants like Symphyotrichum novae-angliae (New England aster) and Asclepias spp. (milkweed) have feathery attachments which allow the seeds to be spread by the wind. While aster seeds can be sown with some of their fluff still attached, it is better to clean milkweed seed. This video shows how we remove the tufts from the milkweed seed.
To clean the seeds of native species which grow fleshier fruits, such as Vaccinium angustifolium (lowbush blueberry) or Aronia melanocarpa (black chokeberry), I generally soak the berries in water in an old (but clean) yogurt container for 24 hours, then mash them. The fruit pulp and nonviable seeds will float to the top and can be skimmed or gently poured off. I may add more clean water and repeat the skimming steps until I am left with clean, viable seeds at the bottom of the container. Finally, I pour the water off through a fine mesh sieve and spread the saved seeds to dry on a sheet of paper towel. When they are dry, the seeds are easy to brush off the paper towel and put in a small jar or bag.
Depending on how busy the greenhouses are at the time when seed is brought in, I may clean it right away or put it in the refrigerator until I have the time to clean it. I will also return cleaned seed to the fridge until I am ready to sow. If you are concerned about your seed getting too moist in the fridge, you can keep smaller seed bags in a larger plastic sealed bag with a small amount of dry rice in it. The rice will absorb excess moisture and keep your seeds dry and viable.
Germinating seeds

Many of the native plants we start from seed require a “cold stratification” period. This is a process which exposes the seeds to cold and moist conditions to encourage germination. This process occurs naturally when seeds fall to the ground and overwinter beneath snow, leaf litter, or soil. When you purchase native seeds, the company will often include germination information or codes on the seed packet. Usually, they will let you know if the seed requires a cold or warm stratification and give you examples of how to accomplish that. I have used a lot of information from multiple seed companies to determine if seed collected by Preserve staff needs cold stratification.
There are several ways of mimicking these conditions in the greenhouse. The most common way for us is to sow the seeds as we normally would, in a small tray with dampened germination soil. I usually cover seeds with a light layer of vermiculite which helps maintain soil moisture. Then I put these small trays under humidity domes in a greenhouse that has been shut down for the winter. Throughout the winter, I check the moisture level of the soil and gently water if necessary. As temperatures begin to rise, seedlings will begin to grow. I may move these trays of young seedlings into a warmer greenhouse at some point in the late winter if we are intent on producing a larger plant by spring, or I may leave them to grow in time with the spring temperatures.
You can also use the refrigerator for cold stratification. Mix your seeds with clean sand or germination soil or vermiculite, dampen the mixture, and seal in a plastic bag. Native seed companies offer a lot of information on how many days of cold stratification certain seeds need. It may be 30, 60, or 90 days. Some seeds that are particularly difficult to germinate may require double dormancy, which means we mimic one winter, then one summer, then one winter again by putting our seeds in the fridge, then to a warm greenhouse, then back into the fridge.
Speeding up germination

As Tate mentioned in his September article on seed collecting, some native species seeds will lie dormant in the soil for years before they germinate. If we are attempting to grow such a species, we may try to speed up the germination process through cold and warm stratification. Viburnum nudum (wild raisin) is one such plant that can benefit from artificial stratification. Last year, we started this in the greenhouse.
First, I soaked the seeds in warm water for 24 hours. Then I mixed the seeds with damp vermiculite in a sealed plastic bag. These seeds went through warm stratification, then cold stratification, so the bag was kept in a warm area (about 70-75 degrees F) for 60 days (during which I checked to ensure the vermiculite stayed damp), then moved to the refrigerator for 90 days. At the end of that time, I sowed the seeds. I filled seed trays with dry germination soil, tamped it down, and watered until damp all the way through with warm water.
Then I spread the Viburnum nudum seed and vermiculite mixture on top of the moist germination soil, and topped with more vermiculite to ensure the seeds were covered by about a quarter inch of material. Many seeds which need light to germinate still benefit from a sparse covering of vermiculite to stay moist. For seeds which may take a year or more to germinate, I may top dress the growing material with sand or clean gravel. Vermiculite, sand, or stone all have the benefit of preventing moss or algae growth on the soil surface.
Finally, I waited for germination. These are slow growing shrubs, and nearly a year after starting the stratification process, the plants which grew from those seeds are only an inch or two tall today.

After the quiet winter of seed starting and planning, in the spring we will be bustling, with seedlings ready to be transplanted into their own pots, some plants ready for larger pots, and many more native and annual seeds to start. I find great enjoyment in the ebb and flow.


Comments